Adding Persistent Volumes to Jenkins with Kubernetes
by John Turner
Posted on February 08, 2017
Kubernetes, Docker, Jenkins
Having had a first attempt at Deploying Jenkins with Kubernetes I’ll next focus on incrementally making the Jenkins deployment more robust. The first thing that I’ll investigate is how I can preserve the contents of the JENKINS_HOME directory. Jenkins stores all of its important information within the JENKINS_HOME such as:
- build server configuration.
- build jobs.
- build artifacts.
- user accounts.
- user installed plugins.
By default disk files in a container are ephemeral. This means that when the Jenkins container fails and is recovered (or indeed when an upgrade occurs) that the data within the JENKINS_HOME directory is lost forever. It would be desirable to have the JENKINS_HOME directory preserved across failure, recovery and upgrade processes. This can be achieved using Kubernetes Volumes.
Container Filesystem
We cannot talk about Kubernetes volumes without understanding the Docker filesystem. The Docker filesystem is composed of a number of layers starting with one or more read only image layers. When a container is created, a read/write container layer is added to the top of the stack. When a file is read from the filesystem each layer is inspected from the top of the stack to the bottom until the file is found or the bottom of the stack is reached. When a file is modified it is first copied to the top of the stack and so the next time it is read the modified file is found first.
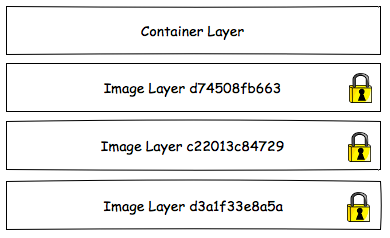
The top of the stack is the container layer. The container layer is ephemeral so the modifications to files within the container layer have the same lifecycle as the container. That is, when the container is destroyed the modifications to the files in the container layer are lost.
We can demonstrate this using Jenkins as described in ‘Deploying Jenkins with Kubernetes’. First, create the Jenkins deployment and service:
kubectl create -f jenkins-deployment.yaml
kybectl create -f jenkins-service.yaml
In your browser, navigate to the jenkins service endpoint. You can discover this URL by running the following command:
$ echo "$(minikube ip):$(kubectl describe service jenkins | grep NodePort: | grep -Eo '[0-9]{1,5}')"
192.168.99.100:32028
You should be presented with the Unlock Jenkins screen below.
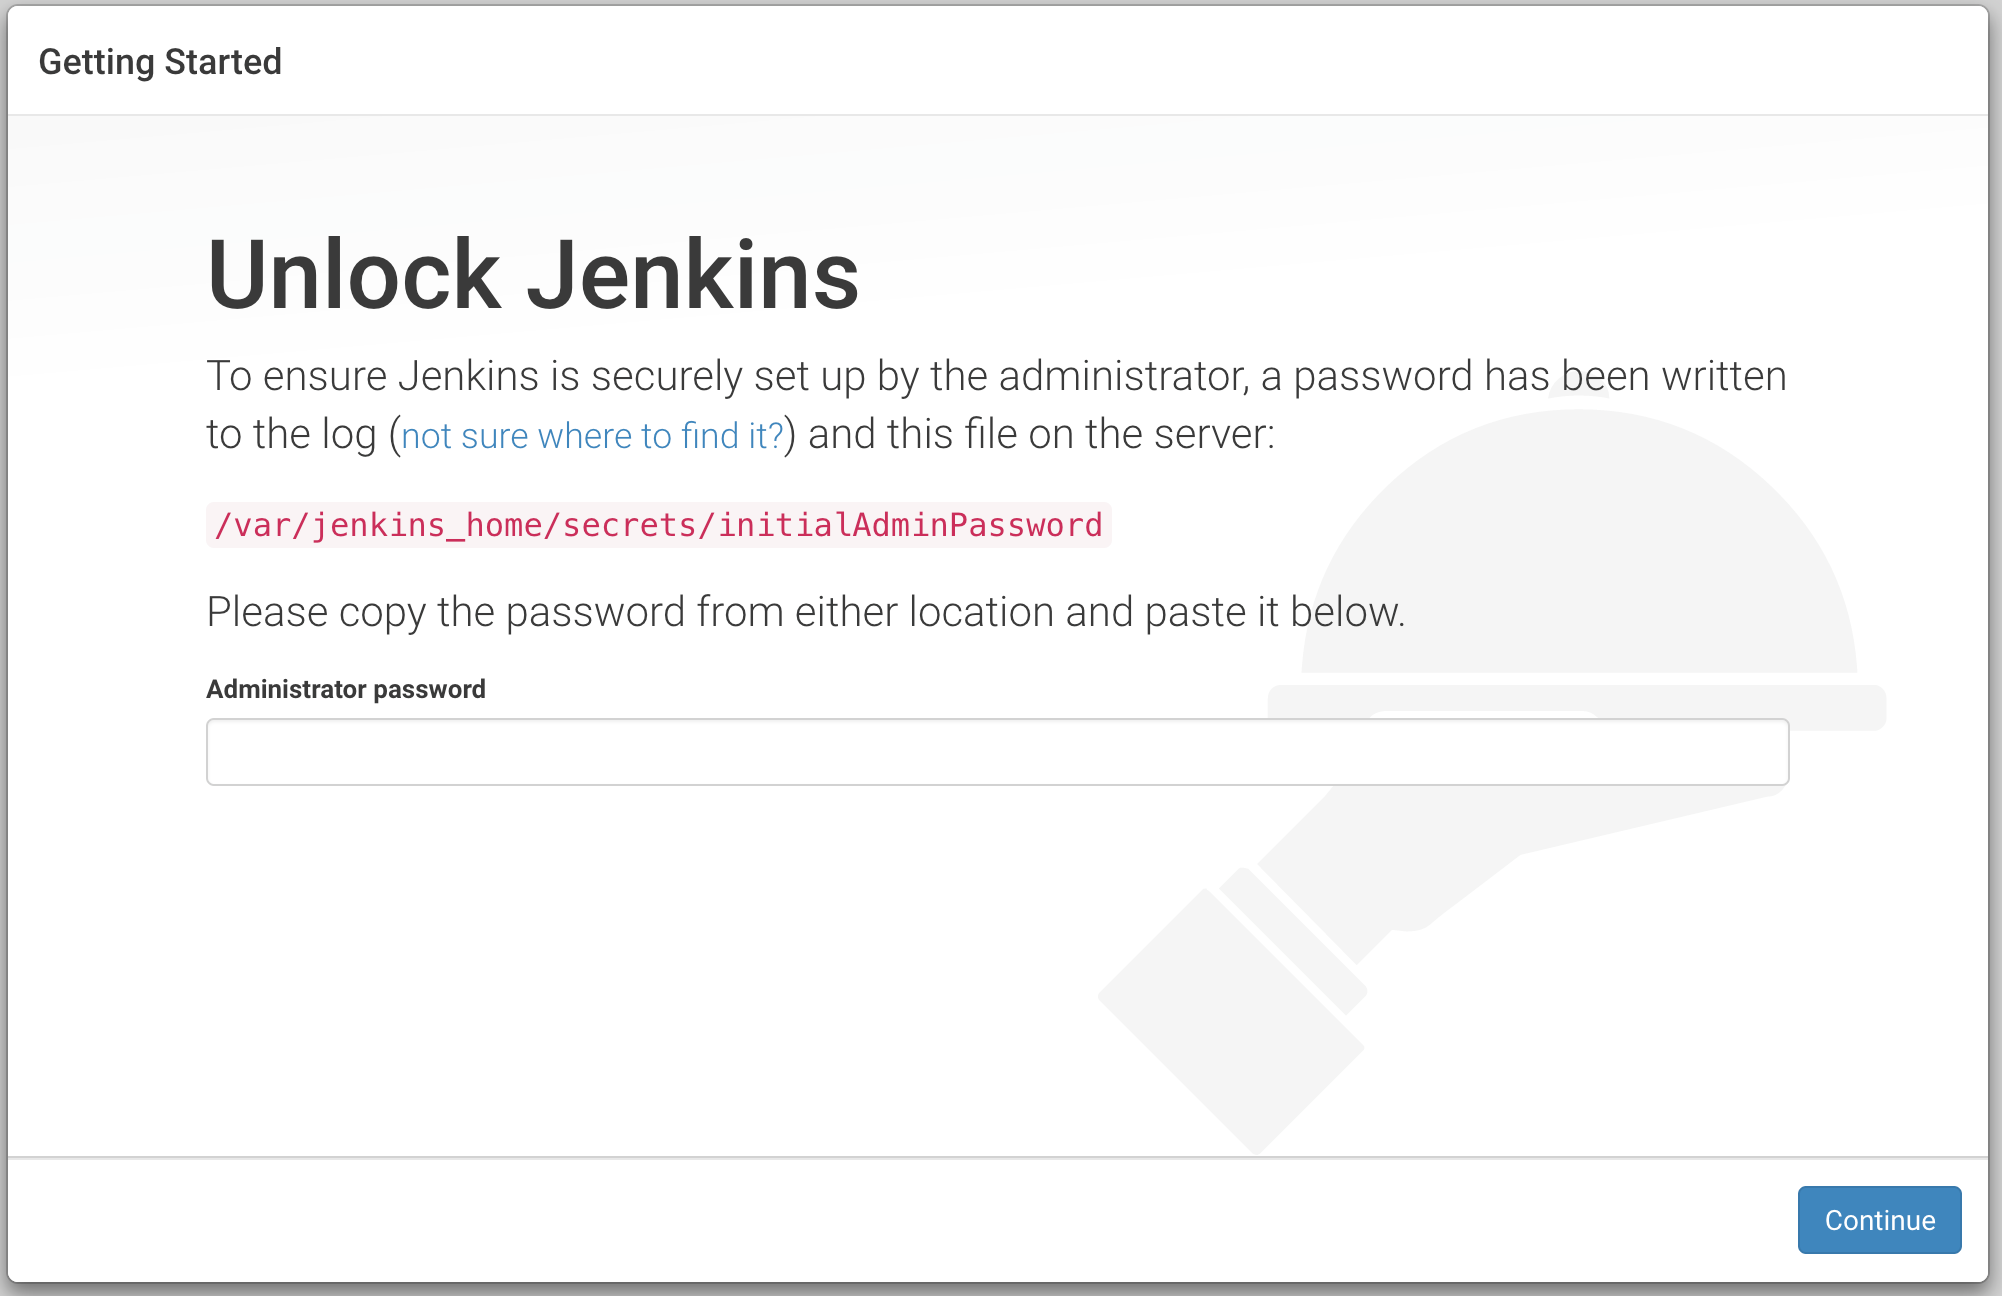
Lets proceed to configure Jenkins. To retrieve the administrator password we need to look at the Jenkins log. First query the name of the Jenkins pod.
$ kubectl get pods
NAME                       READY     STATUS    RESTARTS   AGE
jenkins-2843131955-brz6t   1/1       Running   1          1h
Next, query the log from the Jenkins pod.
$ kubectl logs jenkins-2843131955-brz6t
Running from: /usr/share/jenkins/jenkins.war
...
*************************************************************
*************************************************************
*************************************************************

Jenkins initial setup is required. An admin user has been created and a password generated.
Please use the following password to proceed to installation:

2dda09e55aaa4052983aaf78e38eaedf

This may also be found at: /var/jenkins_home/secrets/initialAdminPassword

*************************************************************
*************************************************************
*************************************************************
Now armed with the administrator password you can proceed through the setup screens. What is happening in the background is that the modifications to the data in JENKINS_HOME is being written to the container layer of the filesystem. Next, we want to ssh onto the Kubernetes Node and kill the Jenkins docker container.
$ minikube ssh
$ docker ps
CONTAINER ID        IMAGE                                                        COMMAND                  CREATED             STATUS              PORTS               NAMES
17f7d403f26b        jenkins:2.32.2                                               "/bin/tini -- /usr/lo"   About an hour ago   Up About an hour
...
$ docker kill 17f7d403f26b
17f7d403f26b
If you were to run docker ps again you will notice that the Kubernetes replication controller has recreated the container and the new container has a different CONTAINER ID. If you return to Jenkins you will be presented with the Unlock Jenkins screen. What has happened is that when the container was destroyed so to was the associated container layer. When the container was recreated a new (empty) container layer was created. As a result, the previous modifications to the configuration was lost forever.
Kubernetes Volumes
Kubernetes Volumes can help preserve data across container restarts (and indeed Pod restarts depending on the type of volume used). The lifecycle of a Kubernetes Volume is bound to the same lifecycle as a Pod. A Volume (and its data) is preserved across container restarts irrespective of the nature of the restart (routine restart or due to failure). When the Pod is destroyed so too are the associated Volumes. Because the volume is associated with the Pod it is accessible to all containers within the Pod.
A volume is mounted on top of the container filesystem and so data is still read in the same way as before except that modifications will occur to the volume. Because the volume is durable across container restarts the data is preserved.

Lets add a volume to our Jenkins deployment.
apiVersion: extensions/v1beta1
kind: Deployment
metadata:
  name: jenkins
spec:
  replicas: 1
  template:
    metadata:
      labels:
        app: jenkins
    spec:
      containers:
      - name: jenkins
        image: jenkins:2.32.2
        ports:
        - containerPort: 8080
        volumeMounts:
          - name: jenkins-home
            mountPath: /var/jenkins_home
      volumes:
        - name: jenkins-home
          emptyDir: {}
The spec now defines a volume named jenkins-home. This volume is mounted within the container at the path /var/jenkins_home and so modifications to data within /var/jenkins_home are written to the volume. If we were to recreate the deployment, configure Jenkins and kill the Jenkins container as before you will not be presented with the Unlock Jenkins screen a second time.
Of course, it the Pod is destroyed so too is the volume. If you need the data to be preserved across Pod failures (node failures etc.) you will need to use remote storage such as AWS EBS or GCE Persistent Disk.
I’ve definitely learned a bit about the Docker and Kubernetes filesystem today and evolved the previous Jenkins example so that it is a little bit more robust. I didn’t like the manual setup steps needed to configure Jenkins so next I’ll walk through creating my own Jenkins image.