Deploying Jenkins with Kubernetes
by John Turner
Posted on February 07, 2017
Kubernetes, Docker, Jenkins
Quick on the heels of my recent overview of the Kubernetes Fundamentals I wanted to dive into deploying something familiar (Jenkins) so that I could focus in on some of the Kubernetes specifics.
Installing Kubernetes Locally
Before going any further I’ll describe my local Kubernetes environment. I’ve previously explored Kubernetes on Google Container Engine and found it effortless. I’ve also used the community provided kube-up scripts to create a local cluster but it appears that this approach has been deprecated. The recommended approach to creating a local Kubernetes environment is using MiniKube.
If you are using Mac, it is fairly trivial to install the components required for MiniKube:
brew cask install virtualbox
brew install kubectl
brew cask install minikube
Note: If you don’t have brew installed you can find the brew installation instructions here.
To start minikube simply invoke:
minikube startAt this point there is a single node Kubernates environment running within a VirtualBox VM. To validate the environment simply invoke:
kubectl cluster-infoThis command will return URL’s for the Kubernetes Master, DNS service and Dashboard.
Kubernetes master is running at https://192.168.99.100:8443
KubeDNS is running at https://192.168.99.100:8443/api/v1/proxy/namespaces/kube-system/services/kube-dns
kubernetes-dashboard is running at https://192.168.99.100:8443/api/v1/proxy/namespaces/kube-system/services/kubernetes-dashboard
Deploying Jenkins
So now we have a single node Kubernetes environment running locally it’s time to define our Jenkins deployment. A simple deployment is defined below:
apiVersion: extensions/v1beta1
kind: Deployment
metadata:
  name: jenkins
spec:
  replicas: 1
  template:
    metadata:
      labels:
        app: jenkins
    spec:
      containers:
      - name: jenkins
        image: jenkins:2.32.2
        ports:
        - containerPort: 8080
Some points of note:
- The file is defining a Deployment as indicated by the kind field.
- The Deployment specifyies a single replica. This ensures one and only one instance will be maintained by the Replication Controller in the event of failure.
- The container image name is jenkins and version is 2.32.2
- The list of ports specified within the spec are a list of ports to expose from the container on the Pods IP address.
- Jenkins running on (http) port 8080.
- The Pod exposes the port 8080 of the jenkins container.
To create the deployment execute:
kubectl create -f jenkins-deployment.yamlTo validate that creating the deployment was successful you can invoke:
kubectl get deploymentsIt’s worth noting that the Kubernetes command line is very consistent in its naming and syntax. You can invoke kubectl get RESOURCE for any Kubernetes resource. If all has worked as expected you will be presented with output similar to that below:
NAME      DESIRED   CURRENT   UP-TO-DATE   AVAILABLE   AGE
jenkins   1         1         1            1           3m
We can also see that a single Pod has been created by invoking:
$ kubectl get pods
NAME                       READY     STATUS    RESTARTS   AGE
jenkins-2843131955-31rh1   1/1       Running   0          7m
Exposing Jenkins
As it stands we have a Jenkins instance deployed but it is still not accessible. The jenkins Pod has been assigned an IP address which is internal to the Kubernetes cluster. Of course it’s possible to log into the Kubernetes Node and access Jenkins from there but that’s not a very useful way to access the service.
To make Jenkins accessible outside the Kubernetes cluster the Pod needs to be exposed as a Service. With a local deployment this means creating a NodePort service type. A NodePort service type exposes a service on a port on each node in the cluster. It’s then possible to access the service given the Node IP address and the service nodePort. A simple service is defined below:
apiVersion: v1
kind: Service
metadata:
  name: jenkins
spec:
  type: NodePort
  ports:
    - port: 8080
      targetPort: 8080
  selector:
    app: jenkins
Some points of note:
- The file is defining a Service as indicated by the kind field.
- The Service is of type NodePort. Other options are ClusterIP (only accessible within the cluster) and LoadBalancer (IP address assigned by a cloud provider e.g. AWS Elastic IP).
- The list of ports specified within the spec are a list of ports exposed by this service.
- The port is the port that will be exposed by the service.
- The target port is the port to access on the Pods targeted by this service. A port name may also be specified.
- The selector specifies the selection criteria for the Pods targeted by this service.
To create the service execute:
kubectl create -f jenkins-service.yamlTo validate that creating the service was successful you can invoke:
$ kubectl get services
NAME         CLUSTER-IP   EXTERNAL-IP   PORT(S)          AGE
jenkins      10.0.0.202   <nodes>       8080:30104/TCP   3m
kubernetes   10.0.0.1     <none>        443/TCP          6h
So now we have created a deployment and service how do we access Jenkins?
From the output above we can see that the service has been exposed on port 30104. We also know that because the service is of type NodeType the service will route requests made to any node on this port to the jenkins pod. All that’s left for us is to determine the IP address of the minikube VM. Minikube have made this really simple by including a specific command that outputs the IP address of the running cluster:
$ minikube ip
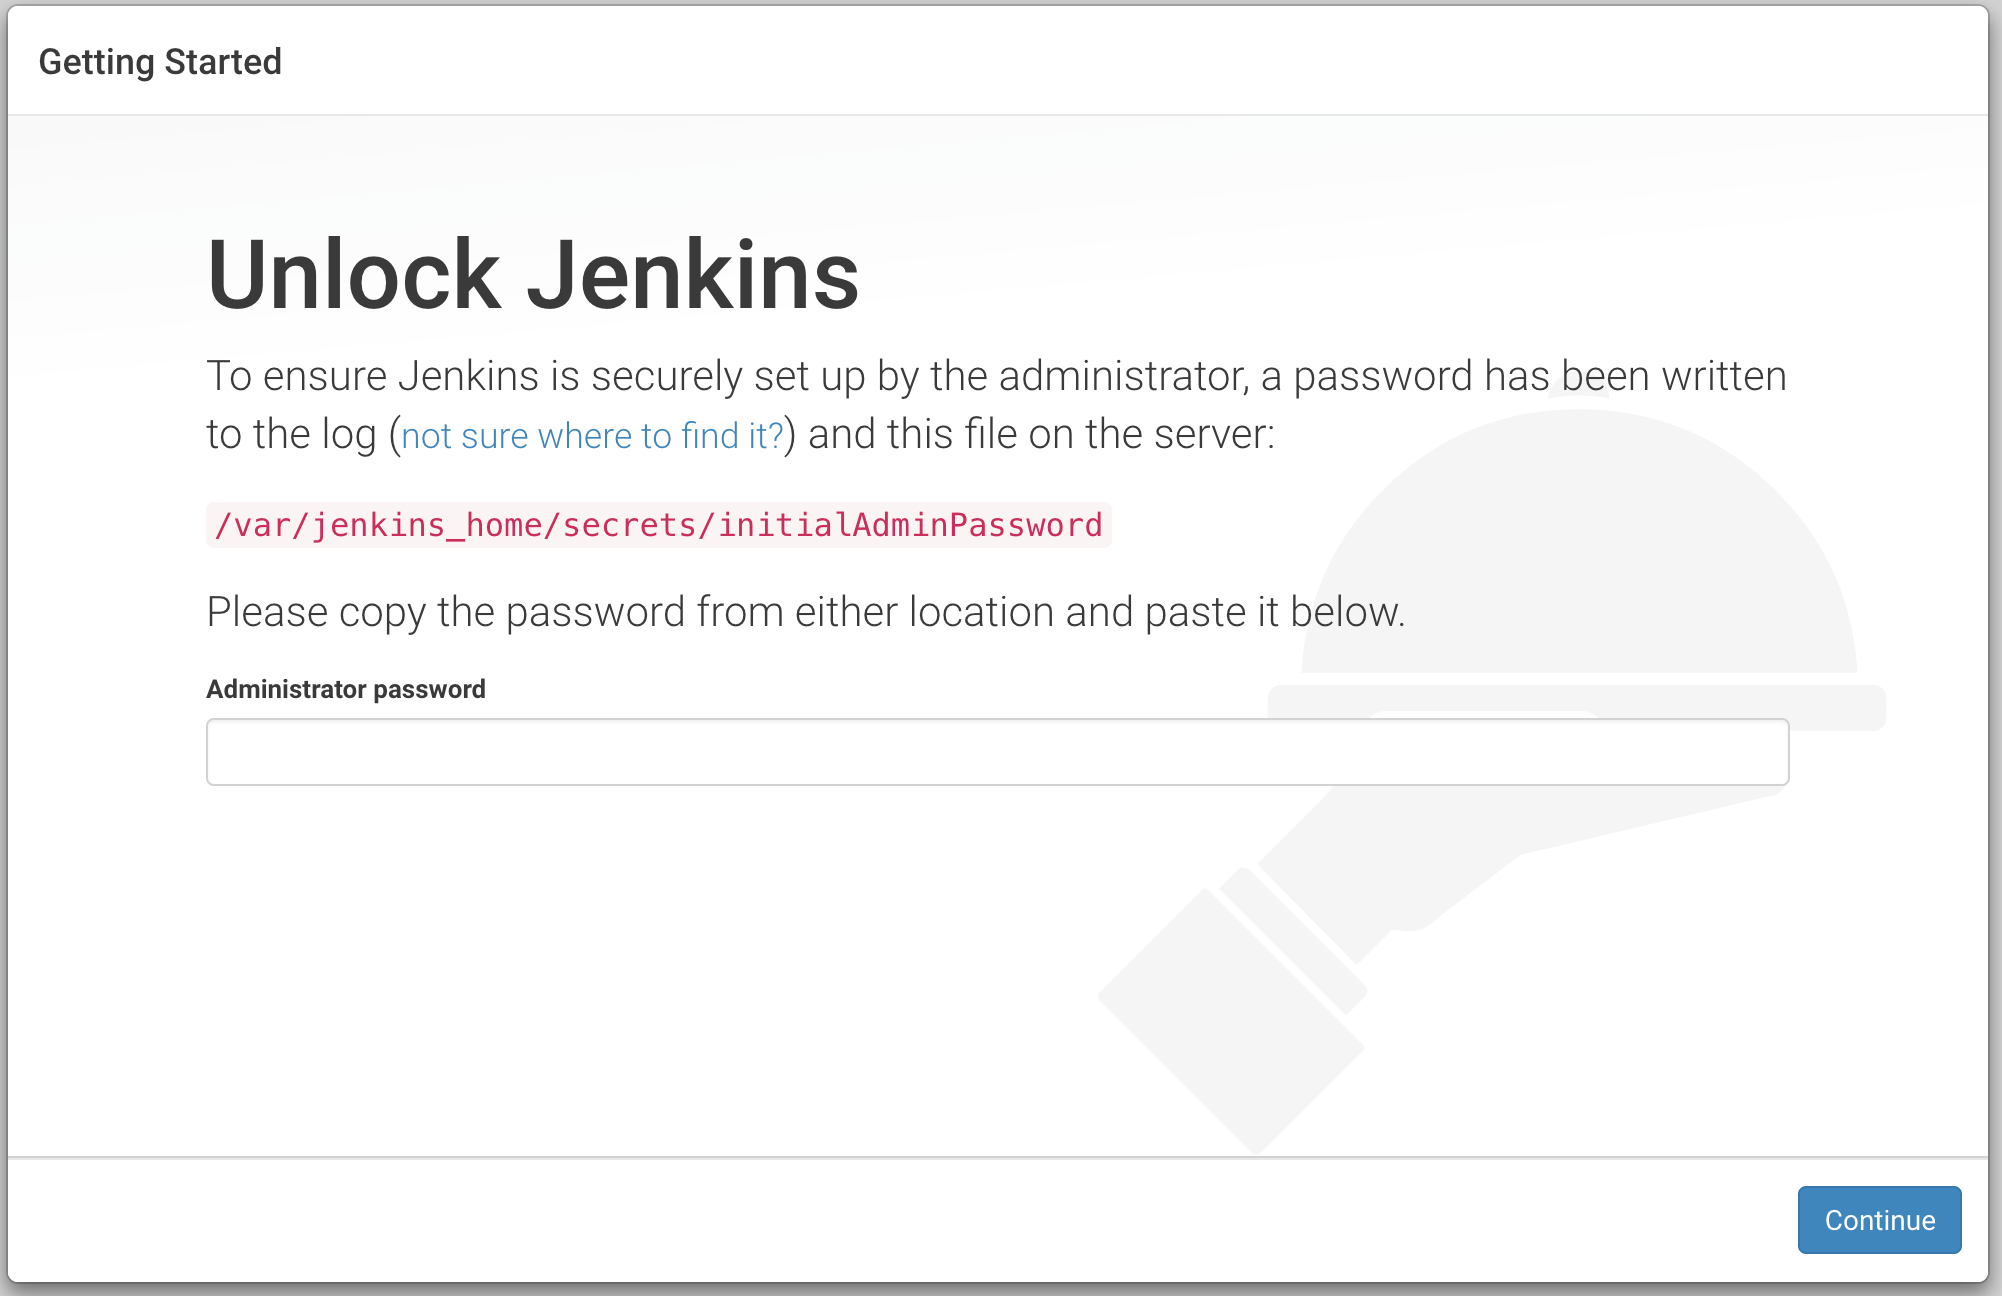
192.168.99.100Now we can access the jenkins instance at http://192.168.99.100:30104/
So that is a bit of a world wind tour of deploying Jenkins on Kubernetes. I plan on developing this use case in future posts so as to explore Kubernetes further so stay tuned if you are finding this useful. On the other hand, if you are experienced with Kubernetes and spot any rookie mistakes I’d appreciate you drawing my attention to them using the comment section below.